


 中文 (中国)
How to Apply
Demonstration Video
Watch how our transfer films, rhinestuds and 3D patches are applied on a heat press — plus the tools and machine settings our technicians recommend before a production run.
Before You Press
Tools & Machine Setup
Three checks that prevent most transfer defects. A few minutes of preparation saves a whole run of rejects.
Measure the plate, not the dial
Use a digital thermometer and thermometer paper. Check five points across the heating plate and keep any two readings within 2 °C of each other — the dial alone is not reliable.
Match the silicone pad
Confirm the pad hardness suits the design. A worn or too-soft pad transfers pressure unevenly and dulls fine details, especially on 3D and flocking films.
Keep the plate clean and dry
Never cover the heating plate with cotton cloth and clean residue between runs. For volume production an air-pressure machine gives more consistent pressure than a manual press.
Application Videos
Watch the Process
Four short demonstrations covering flat ink, rhinestones, 3D patches and heat press calibration.
Flat Ink Heat Transfer
Applying flat ink film on a pneumatic heat press, from positioning to cold peel.
Rhinestone Hot Fix
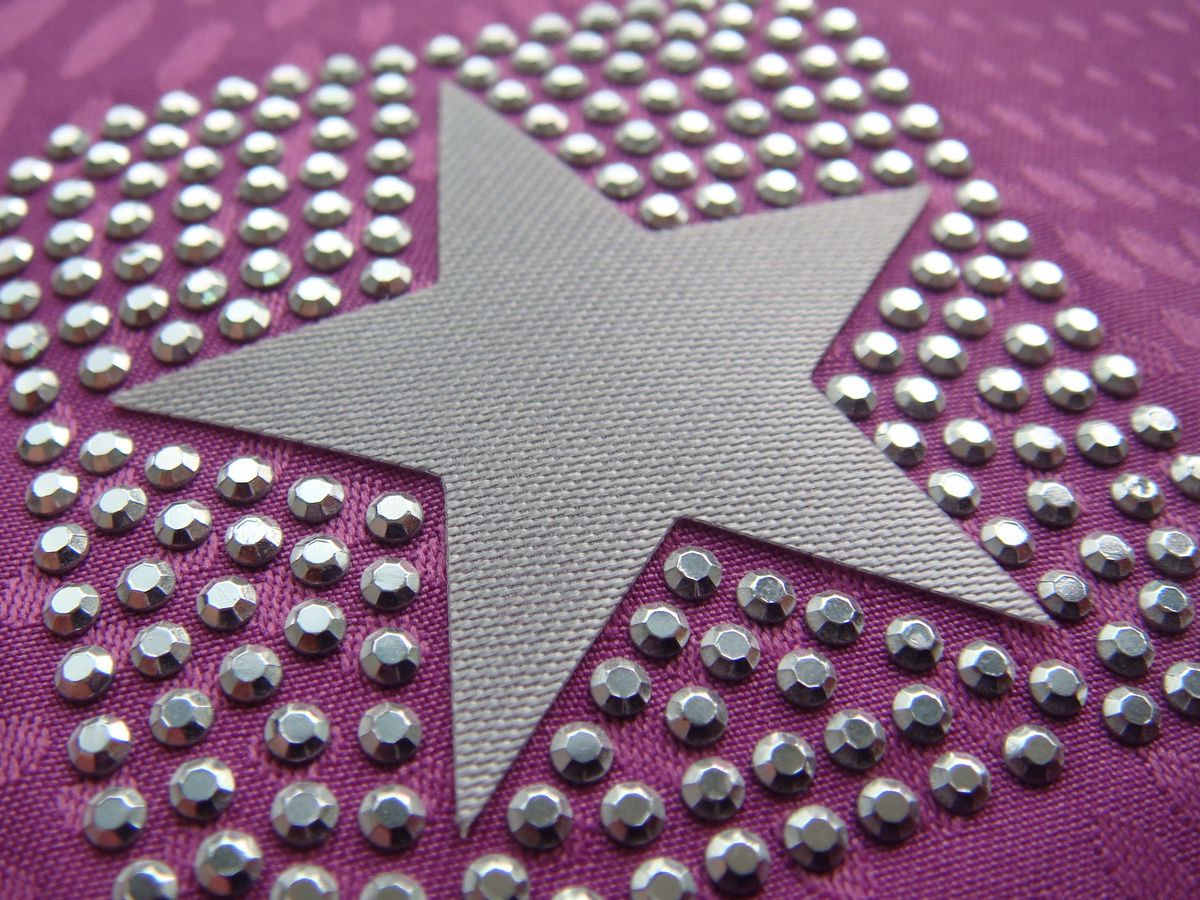
Hot-fix application for rhinestud and rhinestone transfers, including adhesive setting.
Heat Press Calibration
Calibrating plate temperature and pressure before starting a production run.
3D Patch Transfer
Applying 3D silicone and weld patches to build raised, dimension-stable decoration.
Application Steps
Four Steps to a Clean Transfer
The same sequence works for flat ink, reflective, flocking and 3D films — only temperature and time change.
01
Prepare the fabric
Pre-press 3–5 seconds to remove moisture. Trapped moisture is the most common reason a transfer blisters or lifts at the edge.
02
Set temperature and time
Flat ink 140–150 °C for 8–12 seconds; reflective and 3D films per the data sheet. Confirm with a test piece on your own fabric.
03
Press with even pressure
Medium pressure with full coverage of the design. Do not press the same area twice — repeated pressing flattens texture.
04
Peel and inspect
Cold peel for most films. Check edges and wash-test one sample before committing to bulk production.
Good to Know
Frequently Asked Questions
The questions buyers ask us most often before their first order. Still unsure? Send us your fabric and we will test it for you.
What temperature and time should I use for flat ink transfer films?
For most flat ink films aim for 140–150 °C, 8–12 seconds at medium pressure. Always run a test transfer on the actual fabric first — thickness and fibre content change the result.
Can I apply these films to polyester or stretch fabrics?
Yes. Use a lower temperature (about 120–130 °C) with a higher-elasticity film, and pre-test first: polyester can shrink or glaze at high heat.
How do I stop transfers from cracking after washing?
Cure properly, wash inside out at 40 °C or below, avoid bleach and never iron directly on the print. Correct pressure during application matters more than detergent choice.
Do you supply samples before a bulk order?
Yes — sample rolls are available for evaluation and sampling can start from a single roll. Send us your fabric and we will recommend and test the matching film.
What is your production lead time?
Standard catalogue items ship in 7–15 days. Custom colours, widths or patterns usually take 20–25 days depending on quantity.
Do you offer OEM or private-label production?
Yes. Custom widths, colours, patterns and packaging are supported, including private-label cartons for distributors and brand owners.
Need a Sample or Technical Advice?
Tell us your fabric and finish and we will recommend the right film, temperature and pressure — samples are available before you commit.
Contact Our Team